Working with Job Cache
Some files required by CI/CD job might be slow to populate, for instance, a nodejs project needs to download various nodejs modules, and a maven project needs to download various maven artifacts. With the job cache facility, these files can be uploaded to server and prepopulated later to speed up job run.
- Cache may or may not exist when job runs, so the job logic should not rely on existance of the cache
- Starting with 10.1, OneDev stores job cache on server instead of local disk so that it can be maintained and shared more easily. Due to this, cache settings defined at job level are removed, and the set up cache step should be used instead.
Set Up Caches
To set up cache, add set up cache step to your job.
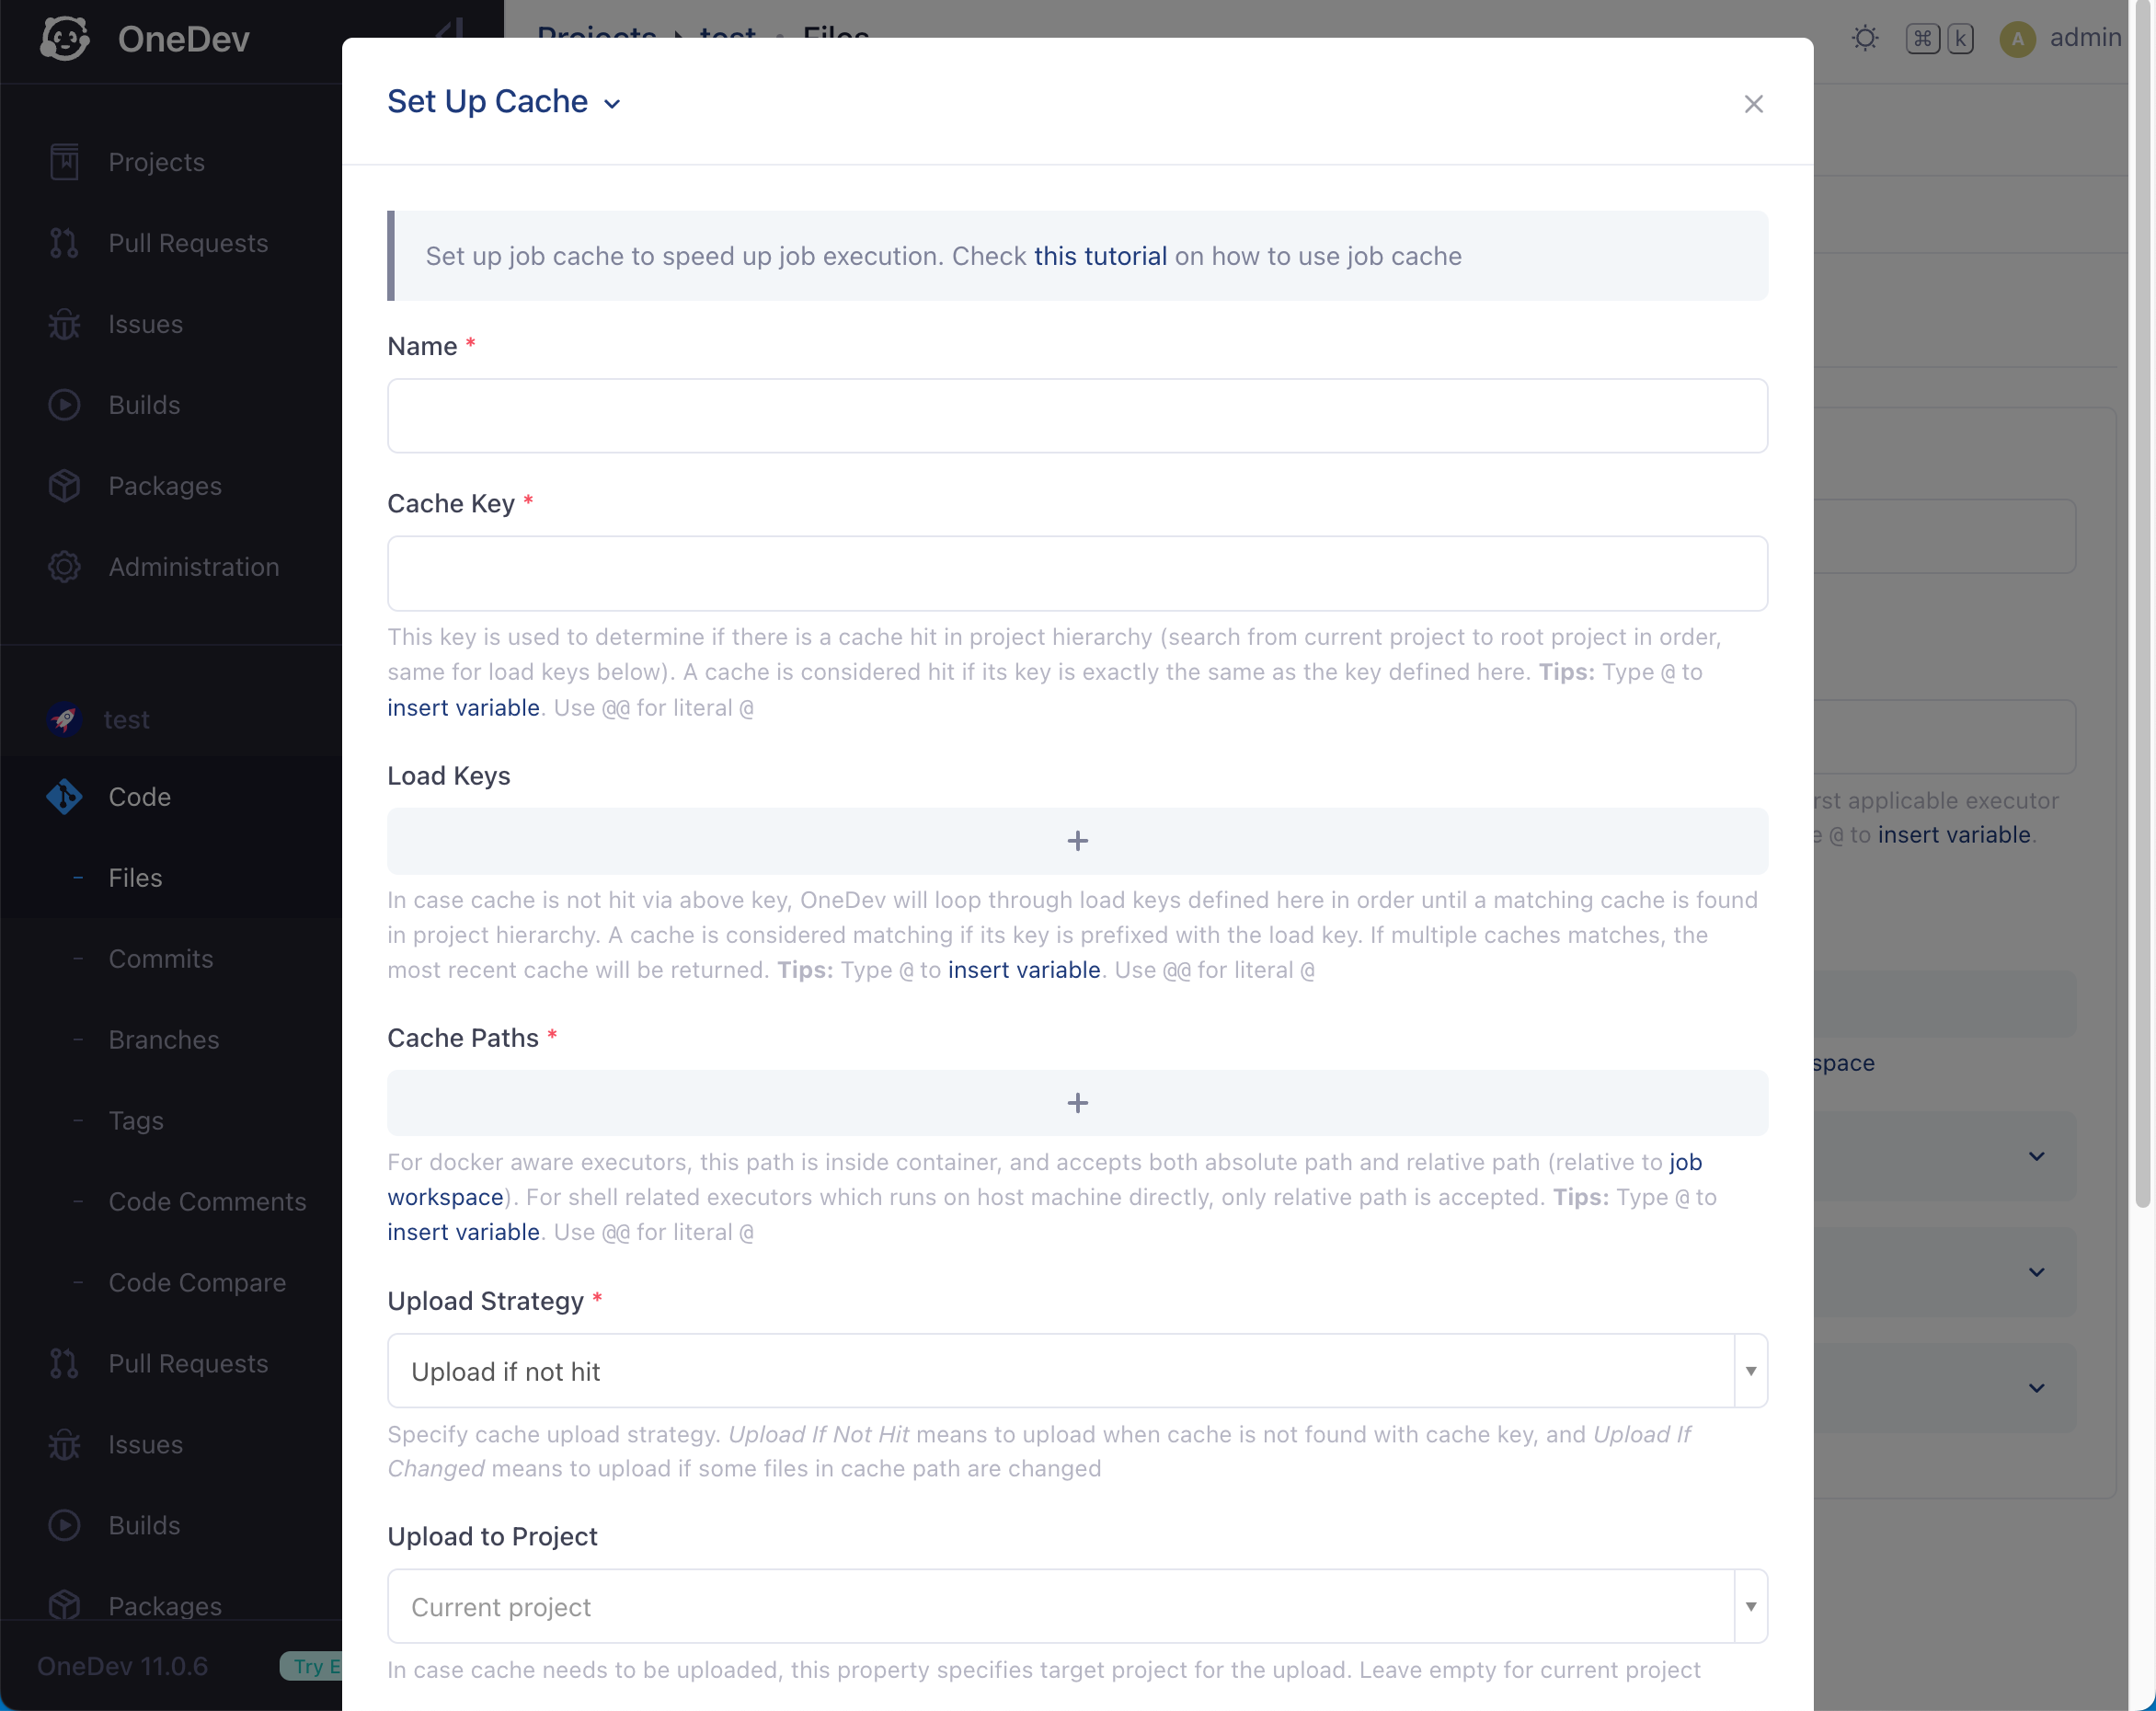
This step allows to specify paths to be cached along with the key to identify the cache on server.
- For docker aware executors, cache path is inside container. It can be an absolute path or a relative path under job working directory
- For shell executors, jobs are running directly in host environment. The cache path can not be absolute, otherwise concurrent writes to same set of files may occur when concurrent jobs run on same host
When the cache setup step is encountered, OneDev tries to load the cache from server with defined cache key. If not found, all defined load keys will be tried in turn until a cache is found with key starting with the load key. When jobs completes successfully, cached path will be uploaded to server according to specified upload strategy.
Uploaded caches are stored on server by project and cache key. CI/CD jobs of a project are allowed to access all caches of the project and ancestor projects.
Cache Maintenance
Caches can be managed from tab Settings / Build / Cache Management of a project.

From here, you can check/delete uploaded caches, as well as configure cache retention days to save disk space.
Example Setup
Template job used in the quickstart tutorial includes steps related to cache setup and usage:
-
Generate package checksum
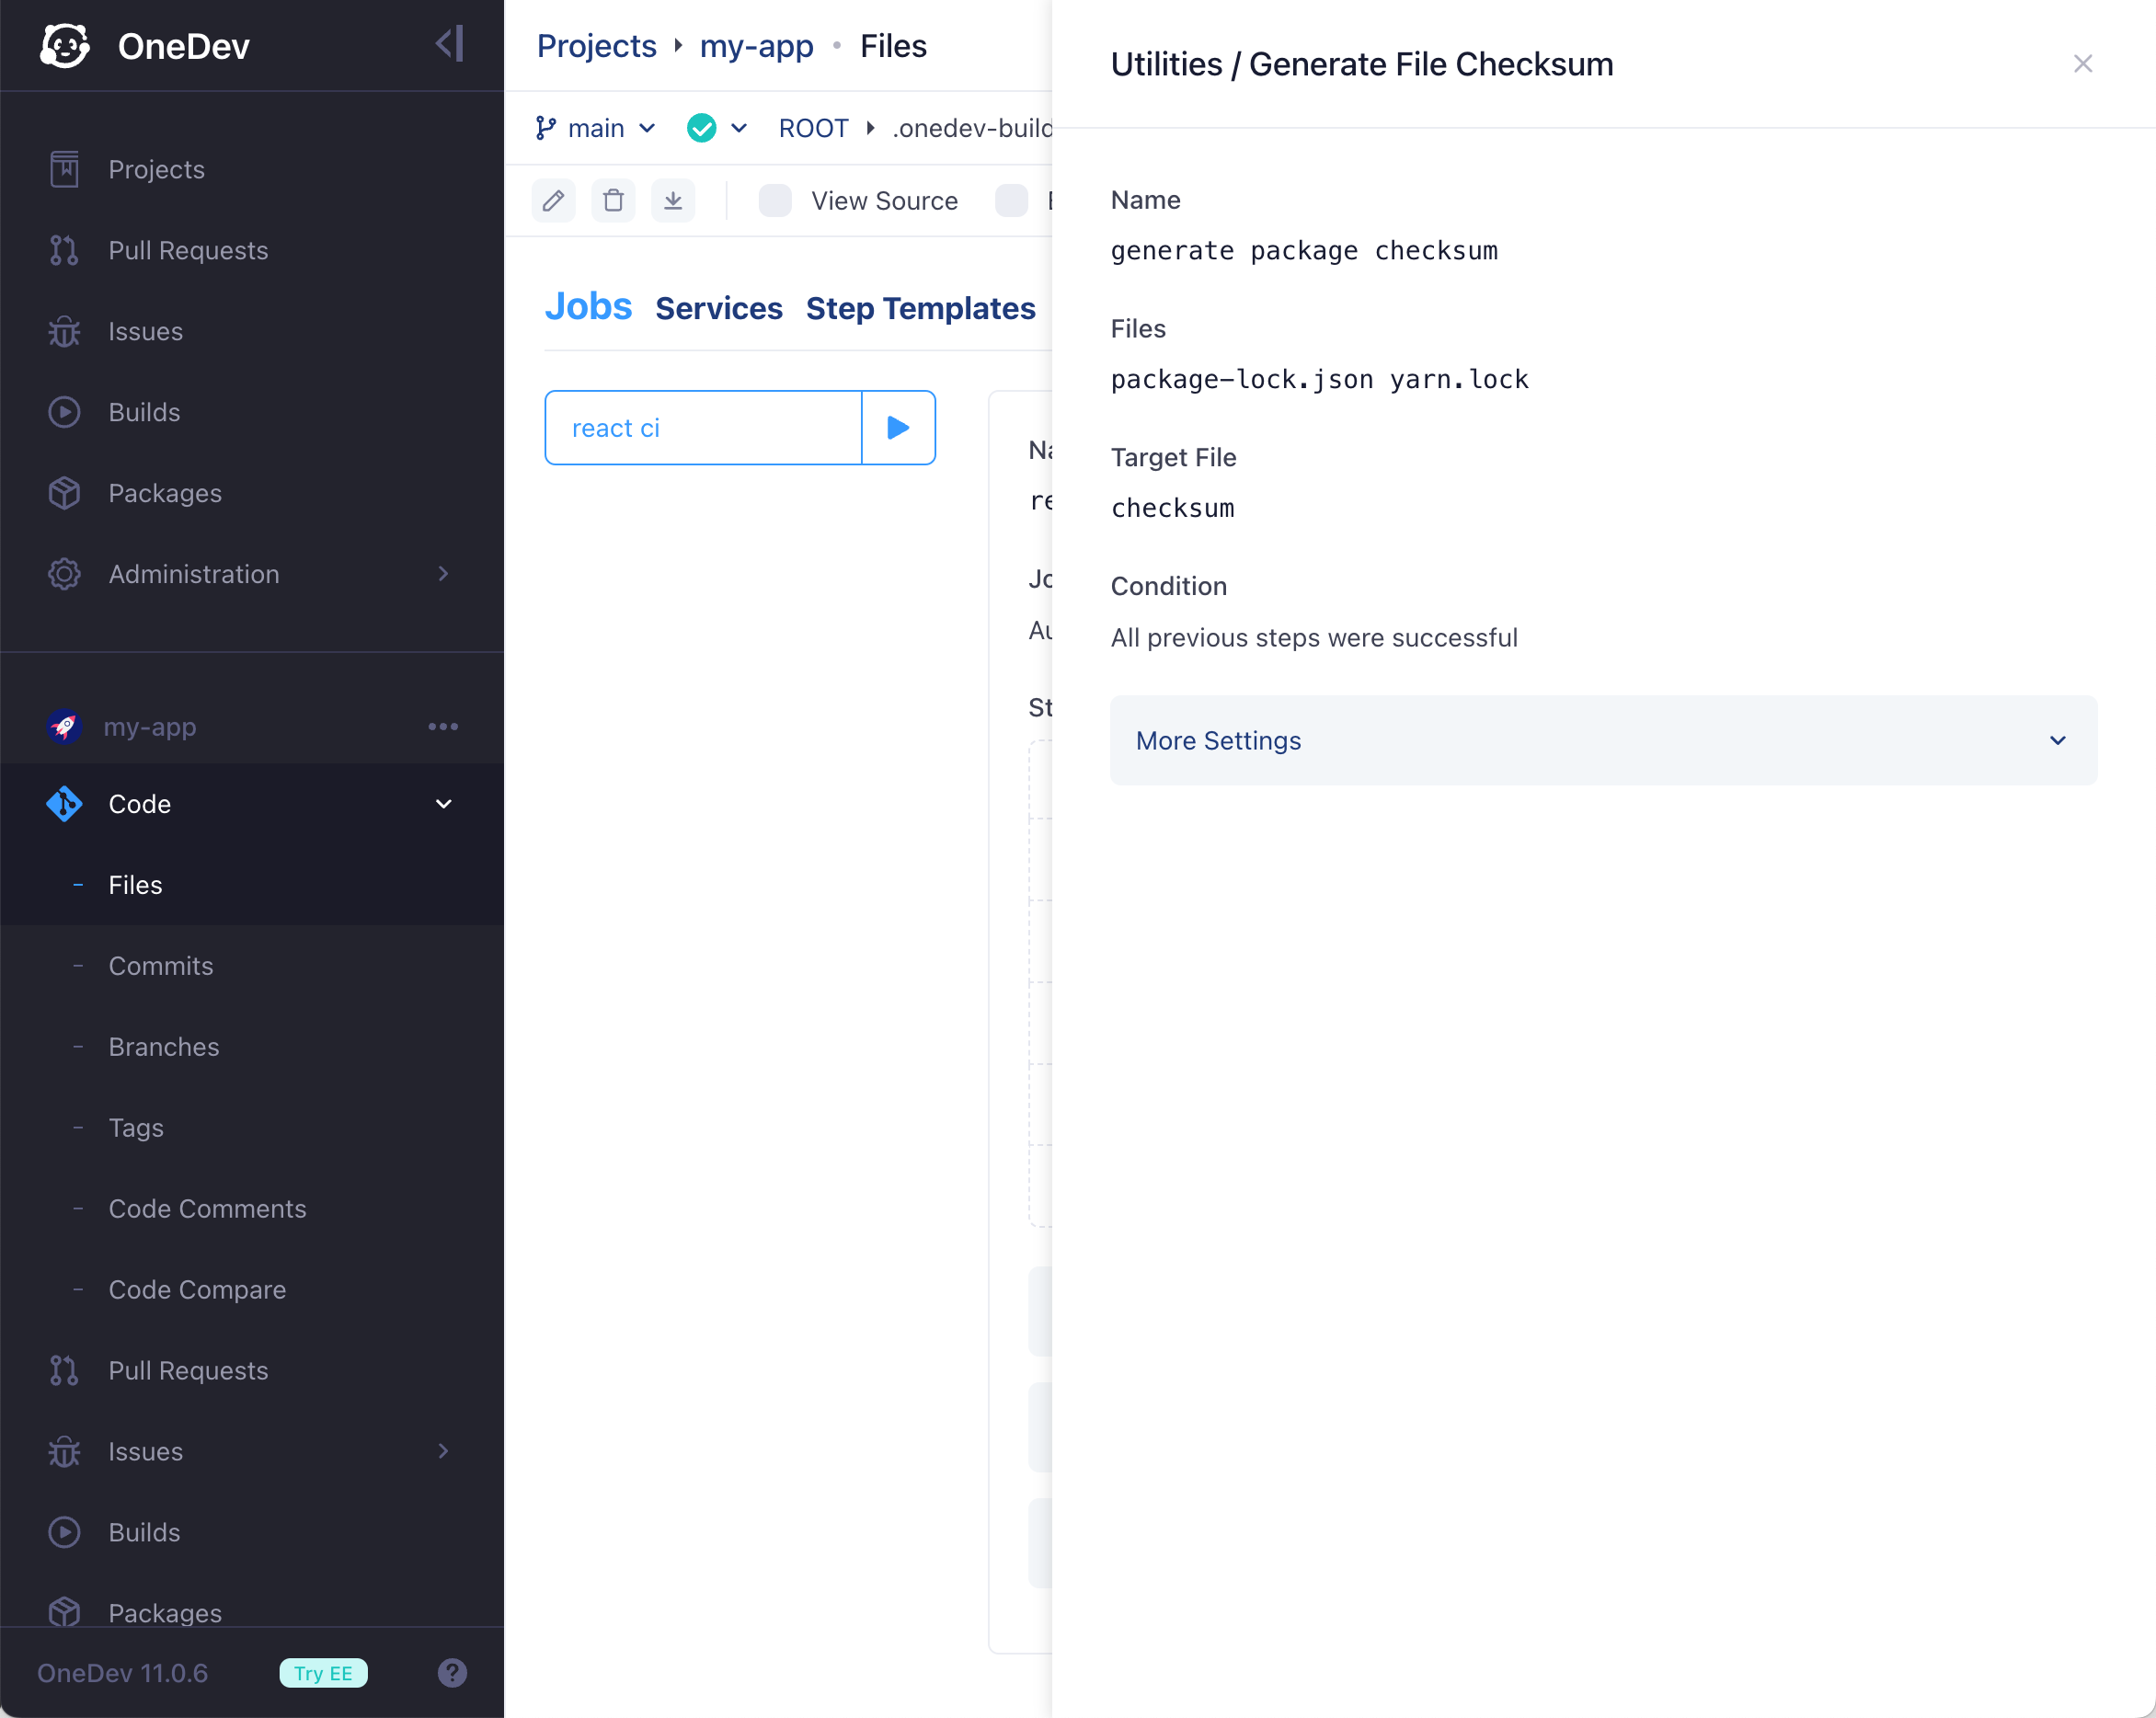
This step runs after checkout step and generates md5 checksum from content of file package-lock.json. The checksum value is written to file checksum under job working directory so that it can be referenced in cache setup step later
-
Set up npm cache

This step runs after the generate package checksum step to prepare node_modules folder before build and test the project:
- Cache key is defined as node_modules_@file:checksum@. Together with upload strategy Upload if not hit, OneDev will upload the cache whenever package-lock.json is changed
- A load key is added as node_modules. With this defined, we do not need to start with an empty node_modules folder when package-lock.json changes, as uploaded cache with obsolete checksum can still be loaded as a base to speed up subsequent npm install command
-
Build and test

This step runs after cache setup step and executes npm install to install/update npm packages. Note that this command should always be called to keep folder node_modules update to date even if it is prepopulated from cache