Fork and Send Pull Request
This tutorial explains how to fork a repository and send a pull request.
If you can read a repository but cannot write to it, fork it first and commit your changes in the fork. You also need permission to create the destination project.
-
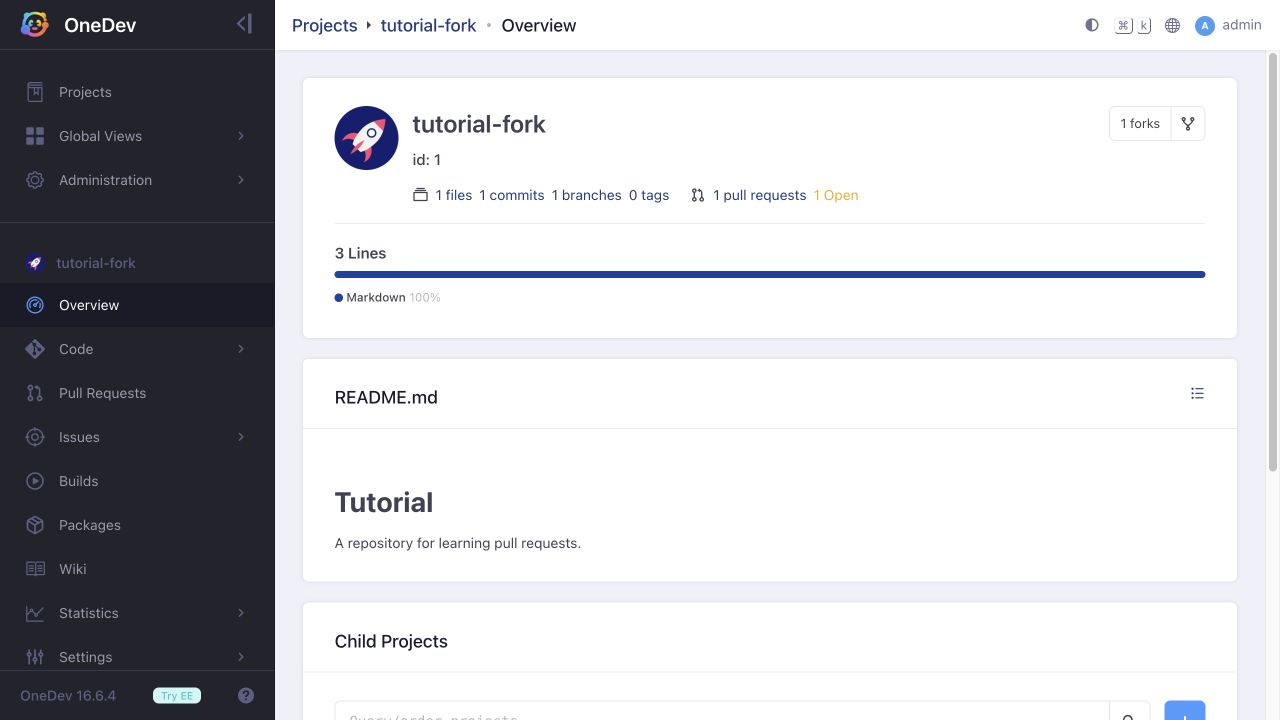
Open the source project's Overview page. Click the fork icon beside the fork count in the upper-right corner of the project card:
-
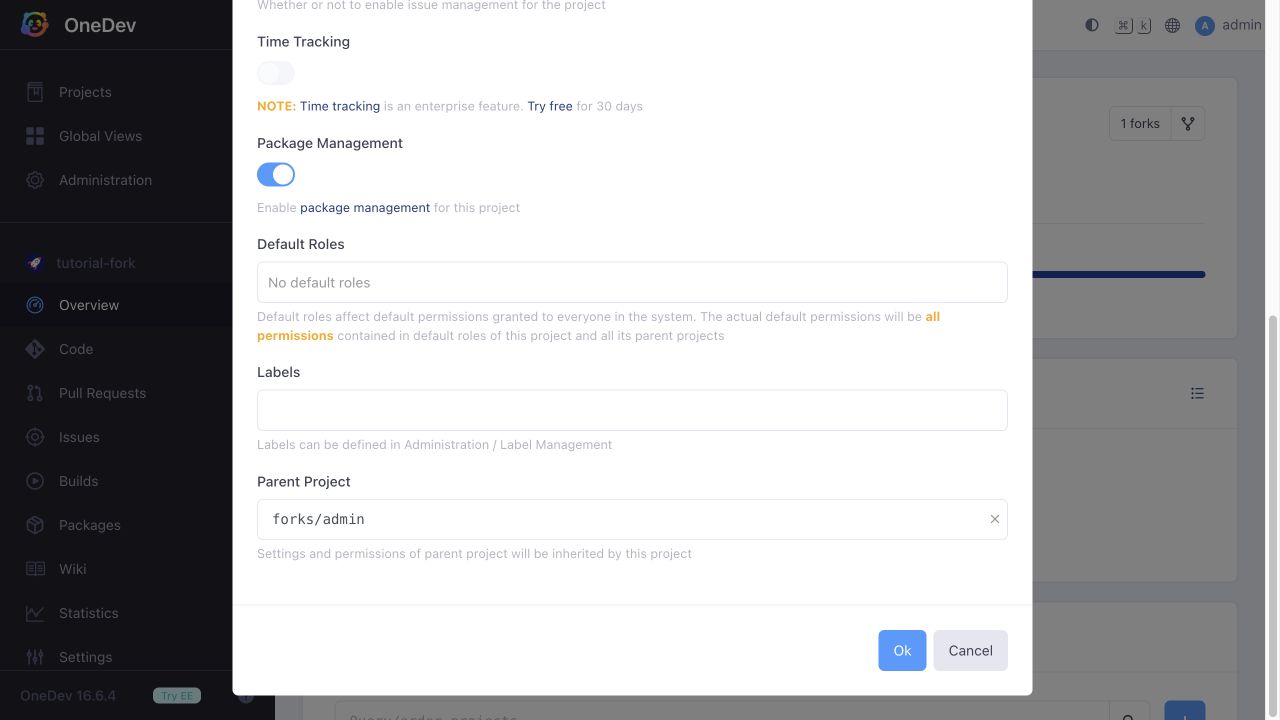
In Fork Project, check the Name and scroll down to Parent Project. The fork will be created underneath this parent. Click Ok:
 info
infoThe suggested parent depends on Administration / System Settings / Default Fork Root. With the default value
forks, it isforks/<account name>; without a default fork root, it is<account name>.You need permission to create child projects beneath the existing parent or fork root. Creating a missing root requires permission to create root projects. If the suggested destination is unavailable, select another parent where you can create child projects.
-
Commit a change in the fork, either with the web file editor or by cloning the fork and pushing your changes. In the fork, open Pull Requests and click the + button.
-
Check that Target is the original project and the branch you want to change, and Source is your fork and the branch containing your changes. Enter a title, review the commits and file changes, then click Send Pull Request.
-
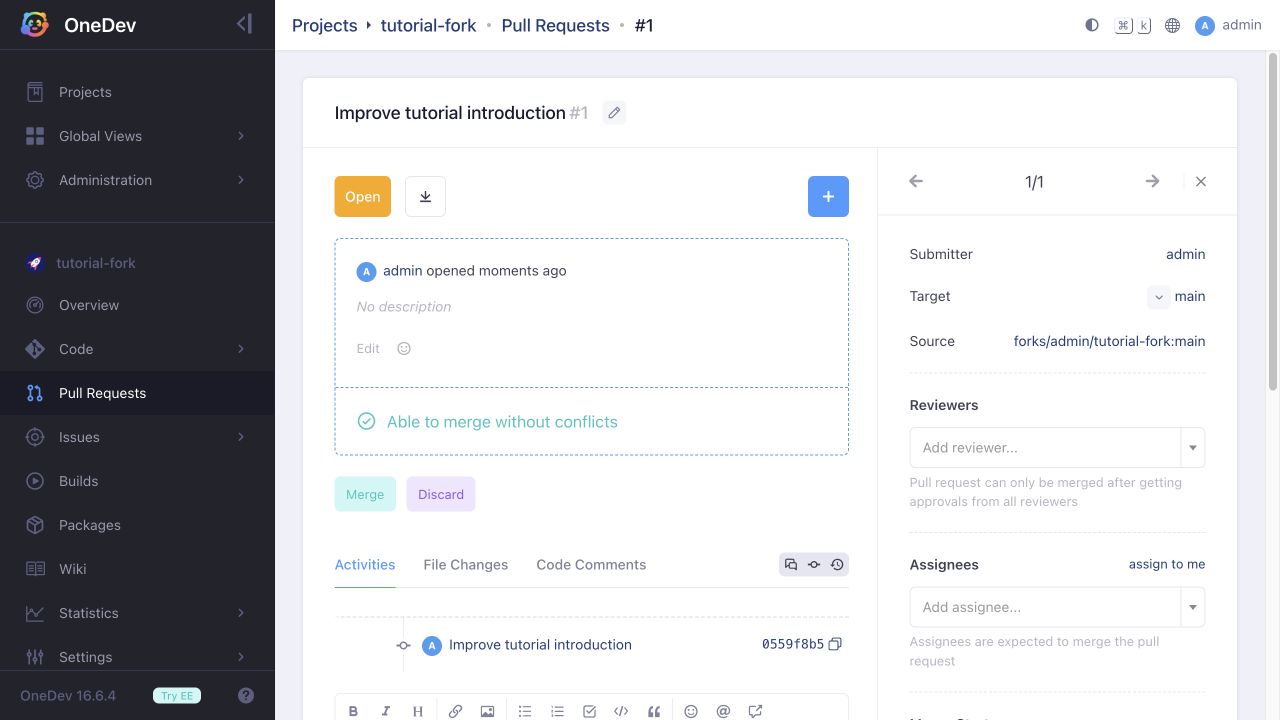
The new pull request opens in the original project. Check its source and target and open File Changes to review the submitted change: