Deploy to Kubernetes Cluster
This tutorial goes through the procedure of cluster setup to achieve high availablity and scalability when OneDev is deployed to Kubernetes.
Deploy Database
First, deploy a standalone database in Kubernetes. OneDev supports MySQL, MariaDB and PostgreSQL. This tutorial uses PostgreSQL 17:
-
Create file postgresql.yaml with below content:
apiVersion: v1kind: Secretmetadata:name: onedev-postgresqlstringData:password: changeit # change this if your password is different---apiVersion: v1kind: Servicemetadata:name: onedev-postgresqllabels:app.kubernetes.io/name: postgresqlapp.kubernetes.io/instance: postgresqlspec:ports:- port: 5432selector:app.kubernetes.io/name: postgresqlapp.kubernetes.io/instance: postgresql---apiVersion: apps/v1kind: Deploymentmetadata:name: onedev-postgresqllabels:app.kubernetes.io/name: postgresqlapp.kubernetes.io/instance: postgresqlspec:selector:matchLabels:app.kubernetes.io/name: postgresqlapp.kubernetes.io/instance: postgresqlstrategy:type: Recreatetemplate:metadata:name: onedev-postgresqllabels:app.kubernetes.io/name: postgresqlapp.kubernetes.io/instance: postgresqlspec:nodeSelector:kubernetes.io/os: linuxcontainers:- name: postgresqlimage: postgres:17-bookwormenv:- name: POSTGRES_DBvalue: onedev- name: POSTGRES_USERvalue: onedev- name: PGDATAvalue: /var/lib/postgresql/data/pgdata- name: POSTGRES_PASSWORDvalueFrom:secretKeyRef:name: onedev-postgresqlkey: passwordports:- containerPort: 5432resources:requests:memory: 256MivolumeMounts:- name: postgresqlmountPath: /var/lib/postgresql/datareadinessProbe:exec:command:- pg_isready- "-h"- "127.0.0.1"- "-U"- onedev- "-d"- onedevinitialDelaySeconds: 5periodSeconds: 2timeoutSeconds: 1volumes:- name: postgresqlpersistentVolumeClaim:claimName: onedev-postgresql---apiVersion: v1kind: PersistentVolumeClaimmetadata:name: onedev-postgresqlspec:resources:requests:storage: 10GiaccessModes:- ReadWriteOnce -
Run below commands to deploy the database:
kubectl create namespace onedevkubectl apply -f postgresql.yaml -n onedevkubectl rollout status deployment/onedev-postgresql -n onedev --timeout=180s
Deploy OneDev
Now lets run below command to deploy OneDev with two replicas:
helm repo add onedev https://code.onedev.io/onedev/~helm
helm repo update onedev
helm install onedev onedev/onedev -n onedev --set onedev.replicas=2 --set database.external=true --set database.type=postgresql --set database.host=onedev-postgresql.onedev.svc.cluster.local --set-string database.port=5432 --set database.name=onedev --set database.user=onedev --set database.password=changeit
Wait a while for OneDev to be deployed. Run command kubectl port-forward --namespace onedev svc/onedev 6610:80 and then set up OneDev by accessing http://localhost:6610.
Request a Trial Subscription
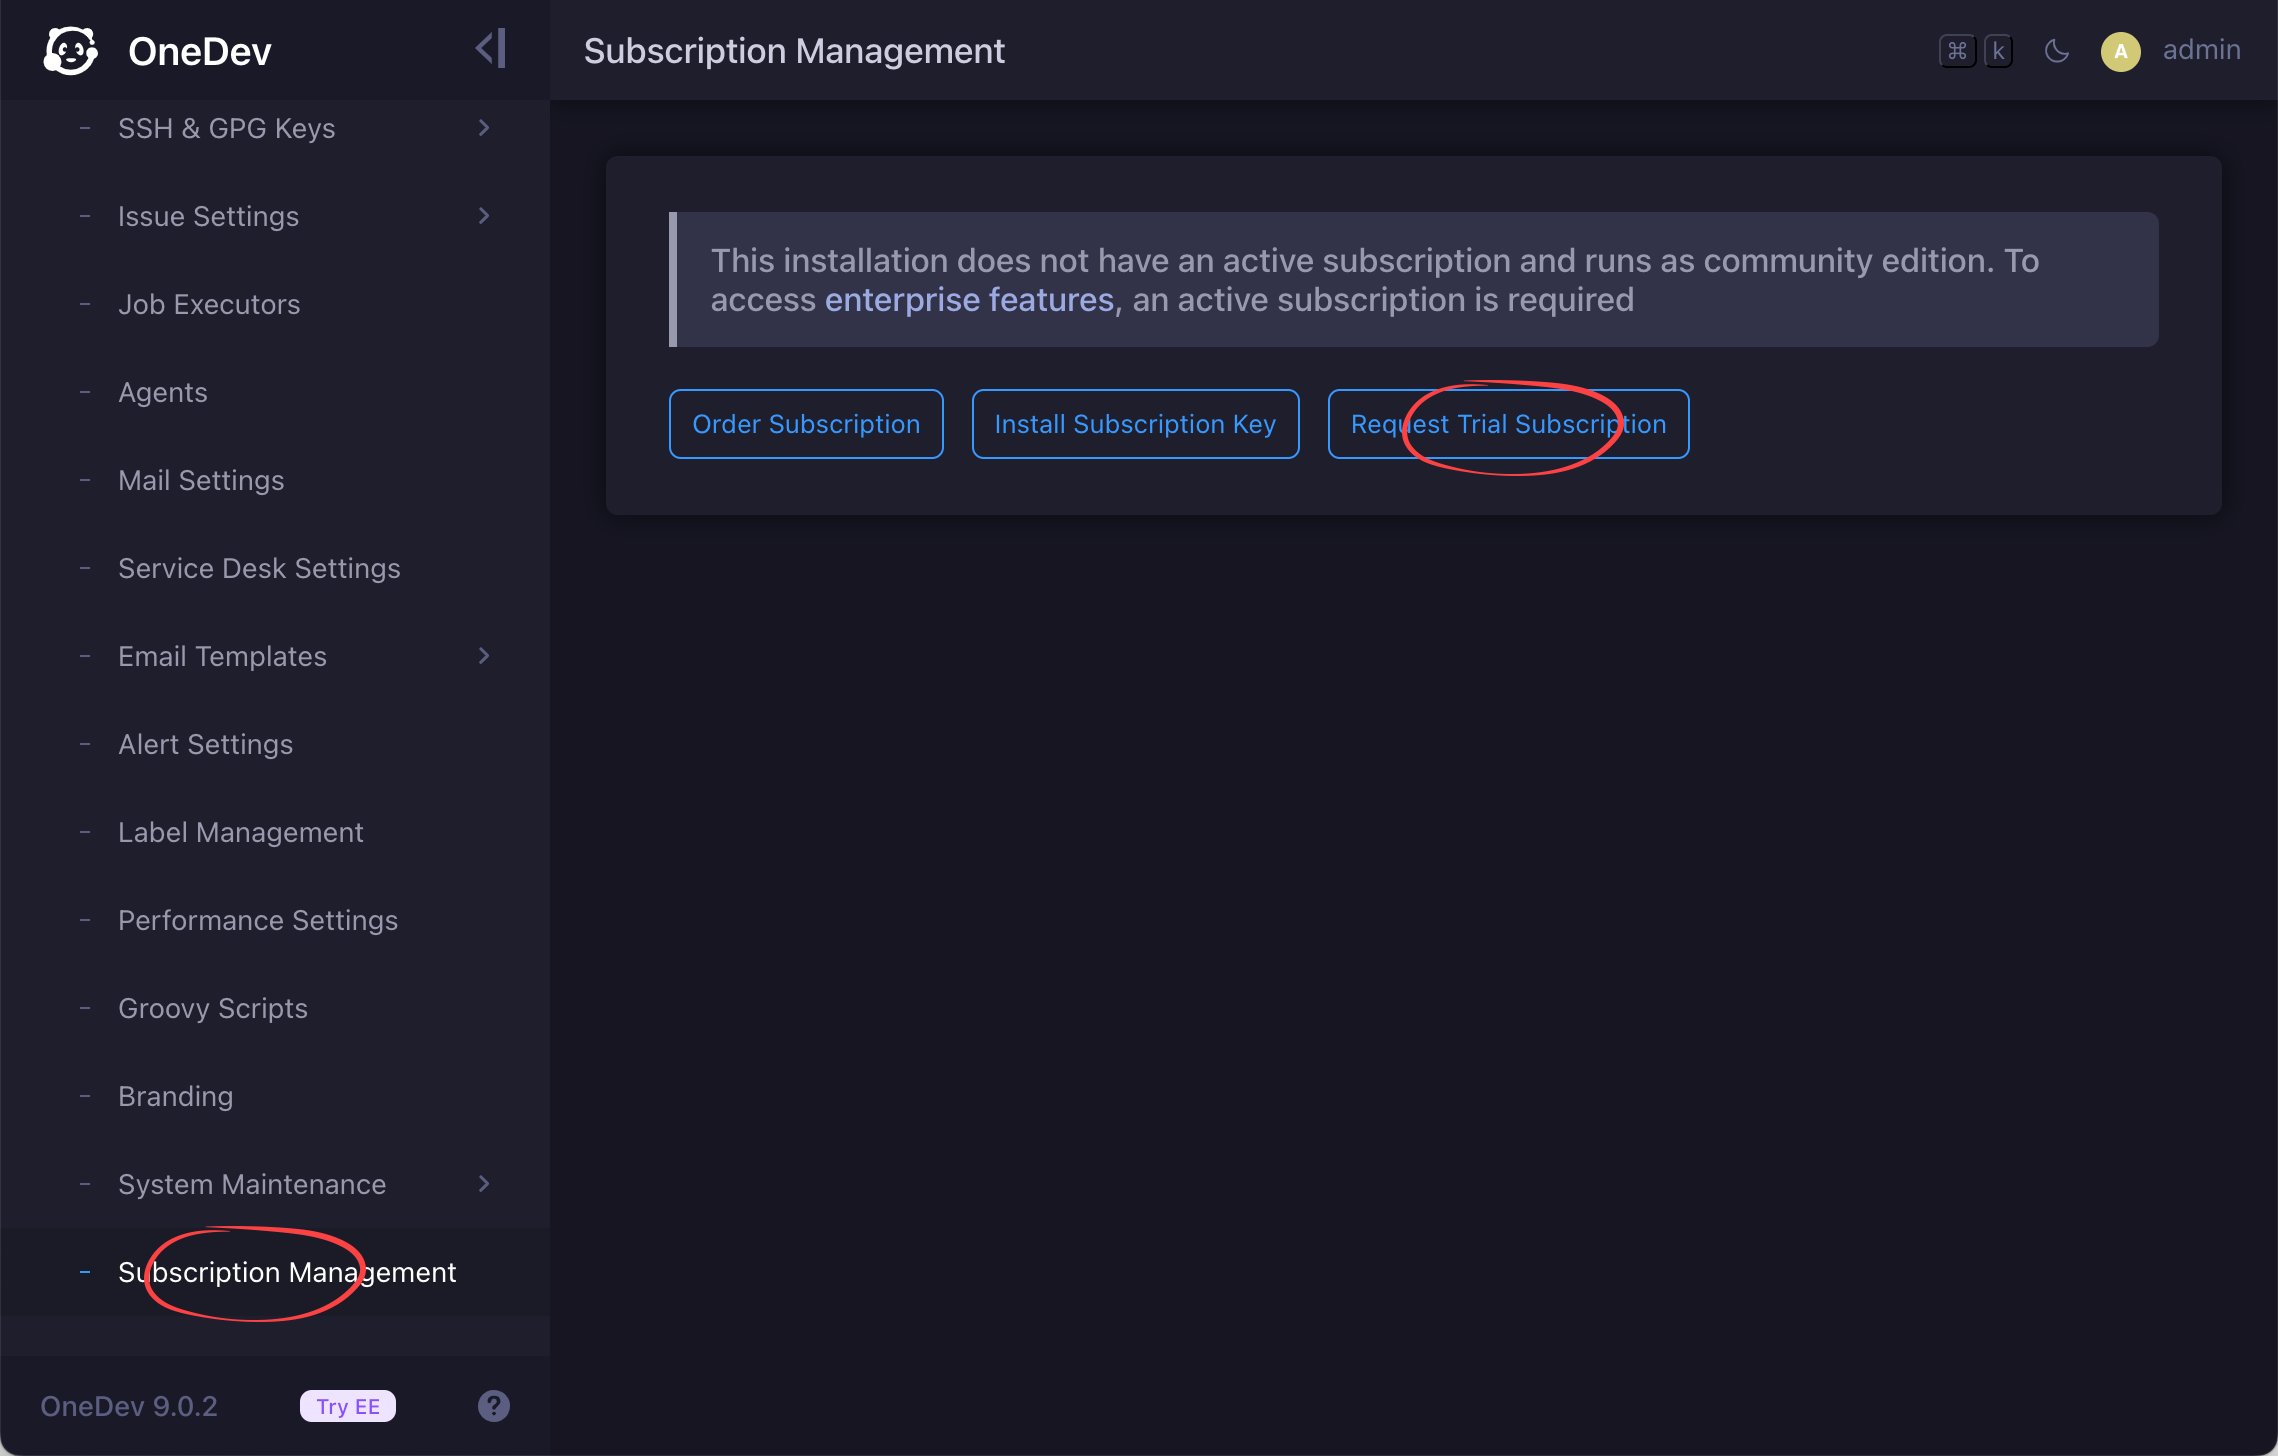
High availability and scalability requires a subscription to use. Switch to menu item Administration / Subscription Management, request a trial subscription key and install it into OneDev if you do not have a subscription yet:
Configure Project Replicas
Switch to menu item Administration / High Availability & Scalability (will be available after trial subscription is activated above), and you will see two OneDev servers in the cluster. Let's change project replicas to 2 and click the button Save Settings & Redistribute Projects:
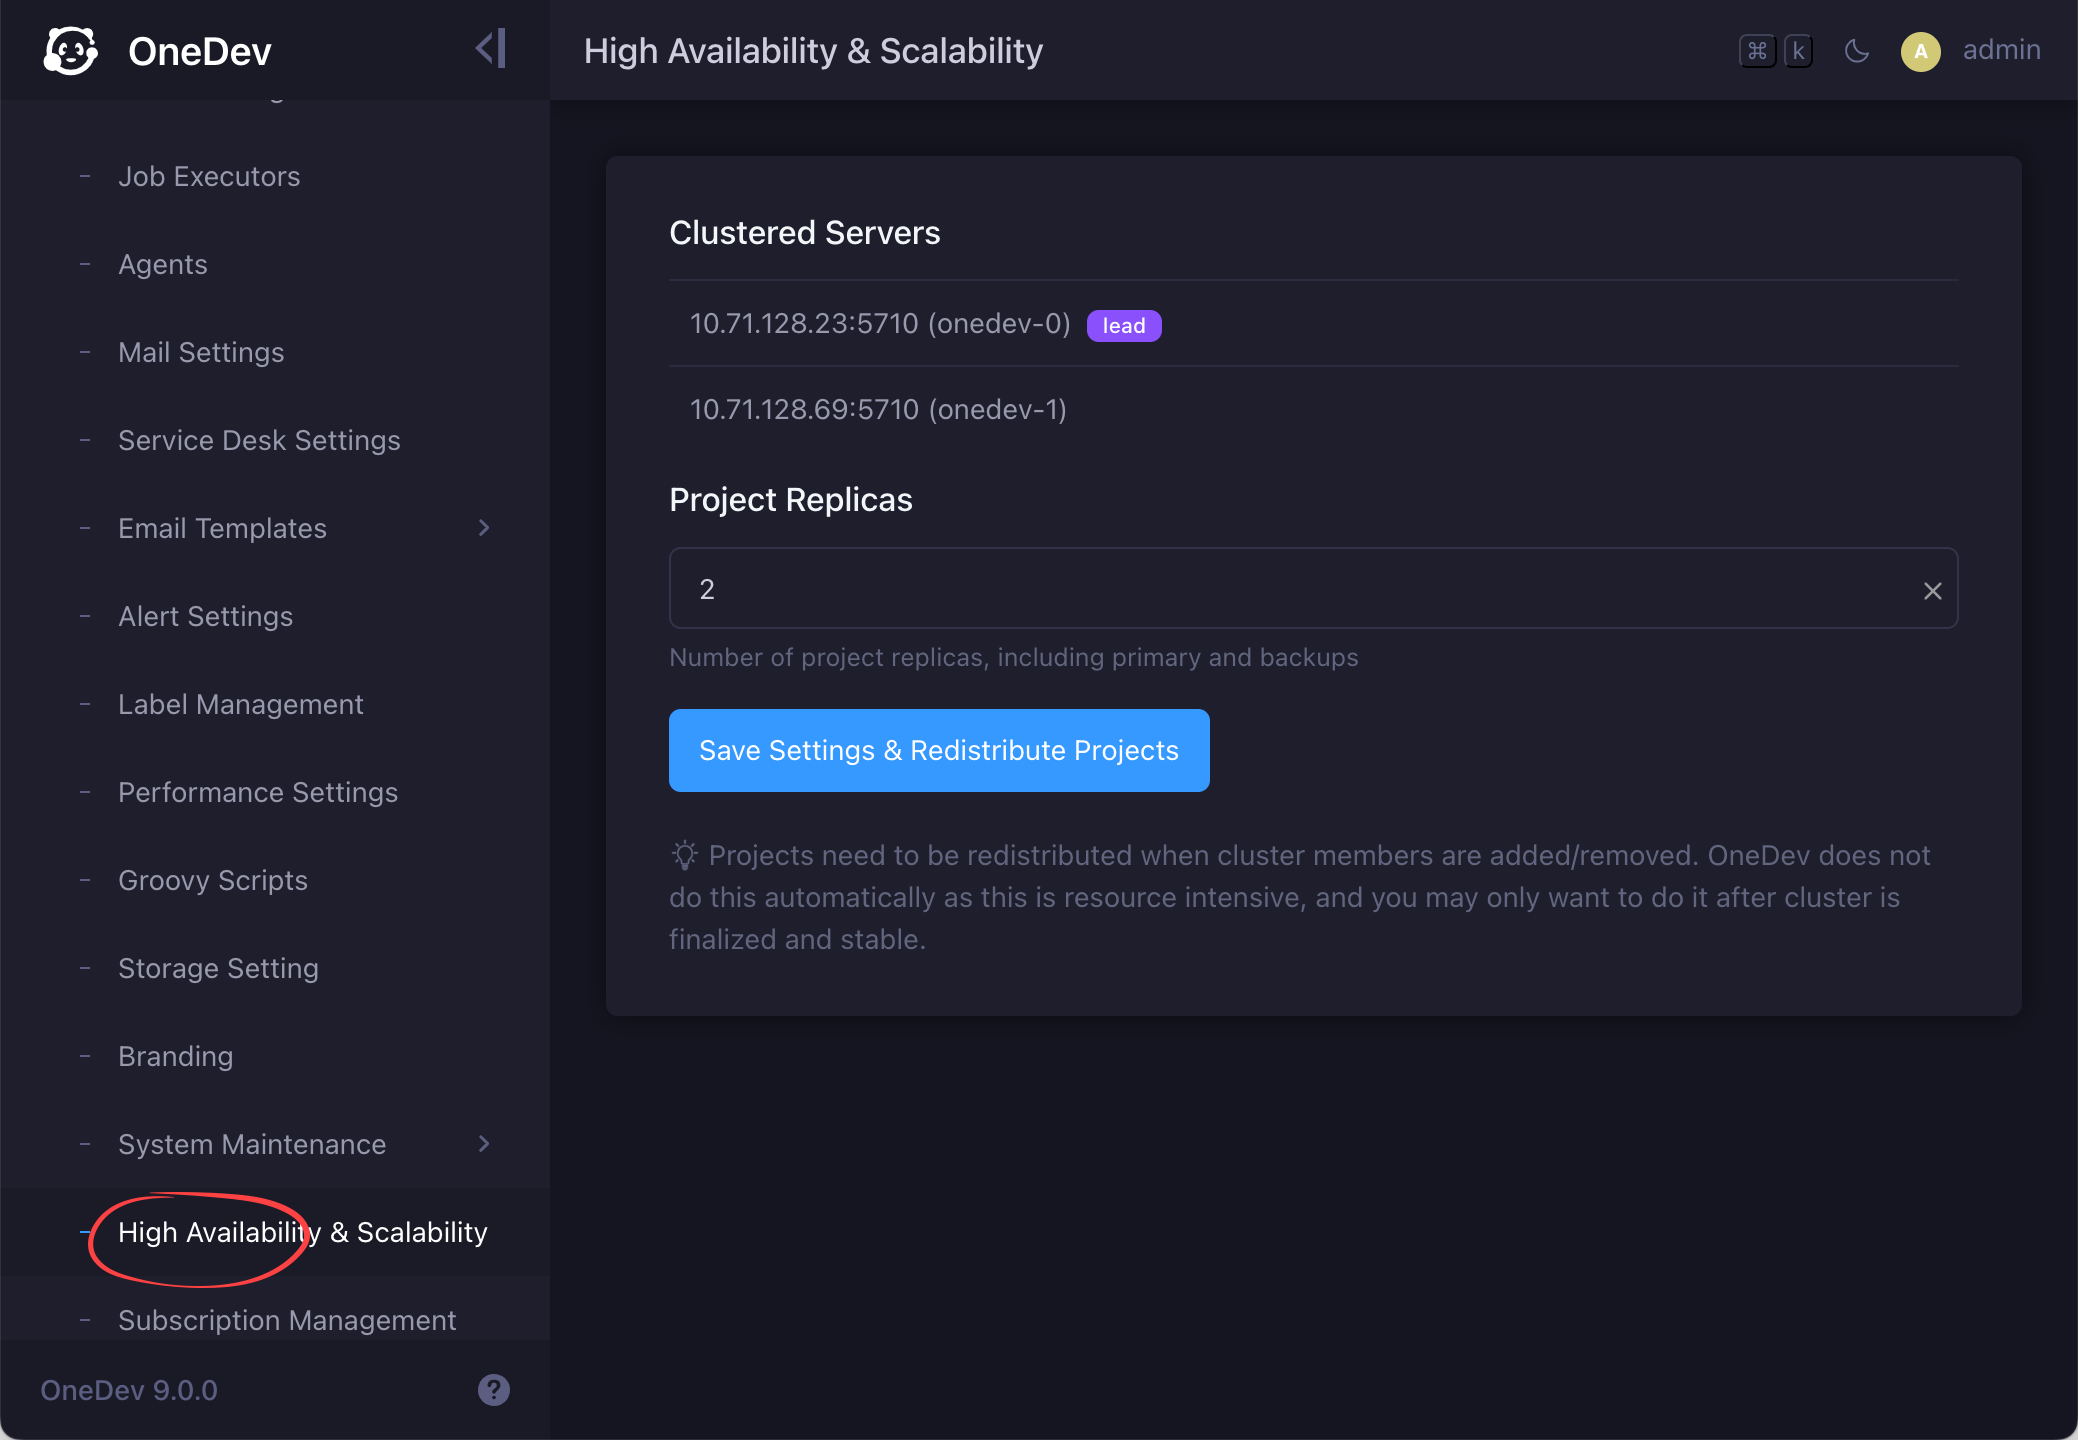
This tells OneDev to maintain two replicas of each project on different servers. Now create a new project, and you can check the replica status like below:
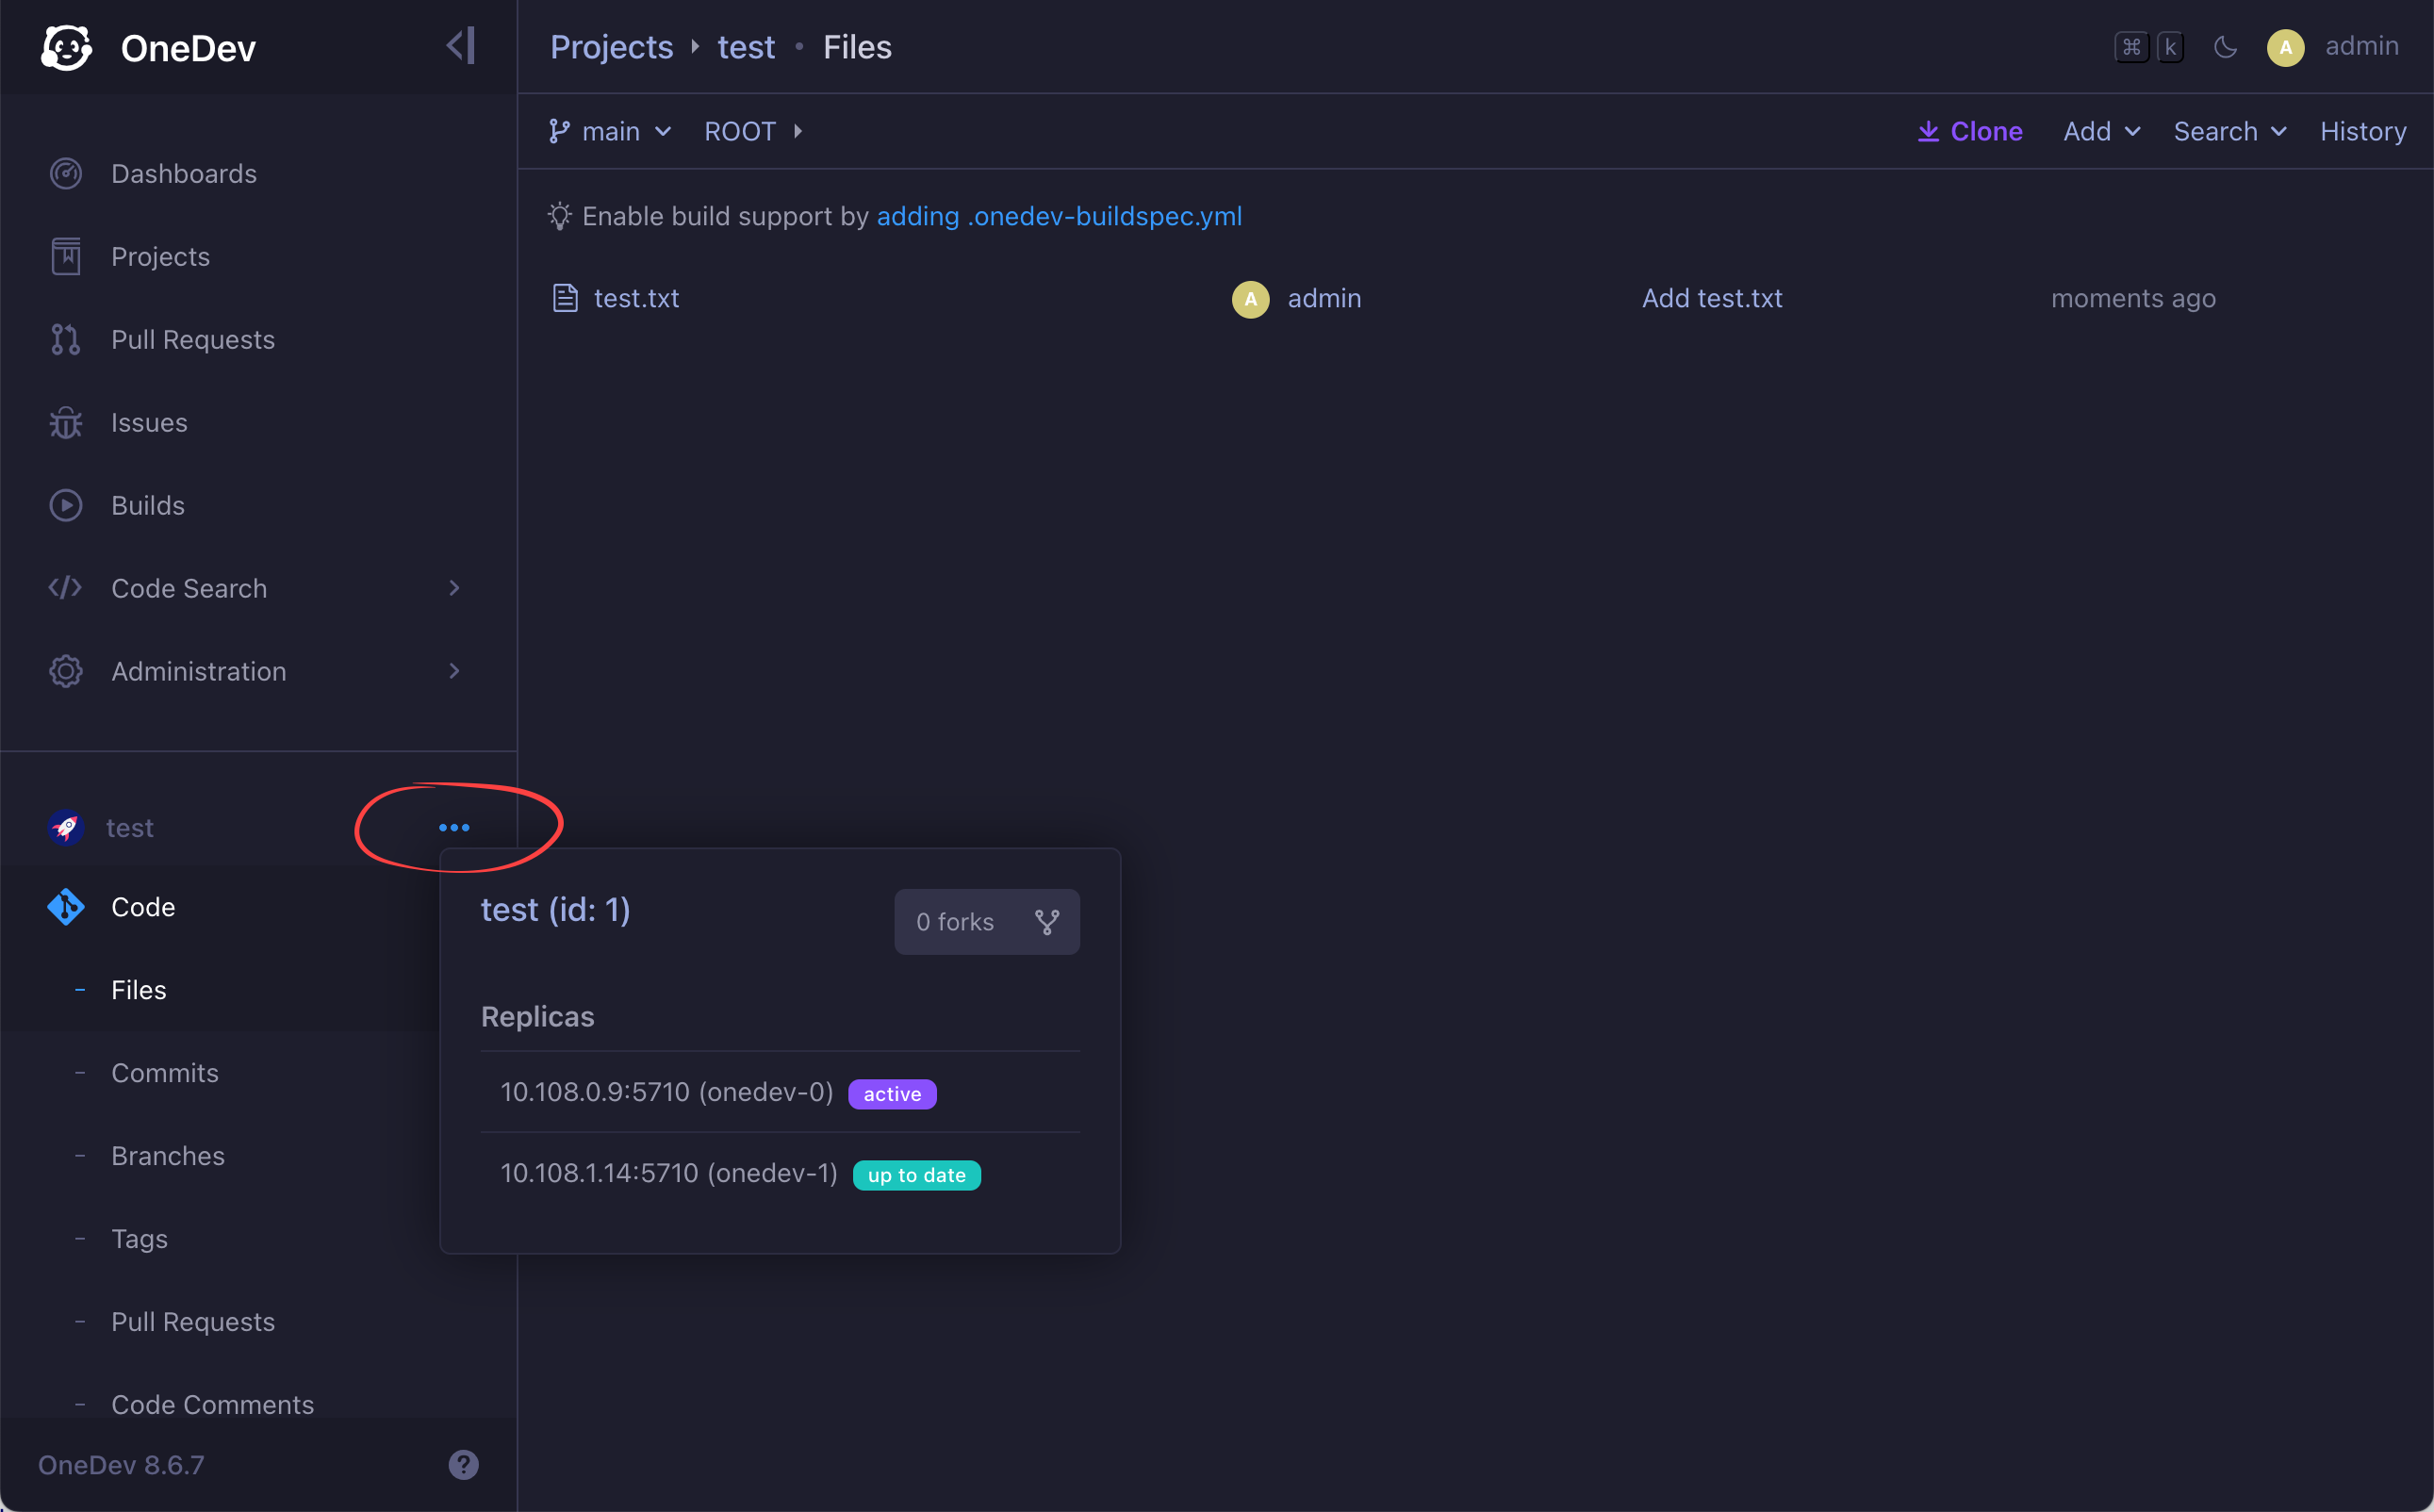
Do something with the project such as pushing files or running builds, you will see that the replica is update to date. In case you need to find projects without enough replicas, or with outdated replicas, run below project query:
without enough replicas or has outdated replicas
Set Up Front End Load Balancer
Just set up load balancer or ingress as explained in the installation guide, and traffic will be routed to backend pods. If you are using an ingress controller other than nginx, make sure to enable session sticky.
- OneDev can be configured to send alert email via
Administratio / Alert Settingswhen a server is down abnormally. After fixing the issue, make sure to redistribute projects again if new pod is added or existing pod is removed - This tutorial does not include HA setup of database. Refer to database specific guide if you need to do that