Run as Docker Container
This tutorial goes through the procedure of cluster setup to achieve high availablity and scalability when OneDev is running as docker container.
Running External Database
We will use PostgreSQL as external database in this tutorial. Run below command on a machine to start postgresql:
docker run --rm -v $(pwd)/postgresql:/var/lib/postgresql/data -e POSTGRES_DB=onedev -e POSTGRES_USER=onedev -e POSTGRES_PASSWORD=changeit -p 5432:5432 postgres:15.4
Run Multiple OneDev Servers
We will start OneDev server container on two different machines or VMs with below command:
docker pull 1dev/server
docker run -h <container host name> -it --rm -v $(pwd)/onedev:/opt/onedev -v /var/run/docker.sock:/var/run/docker.sock -e hibernate_dialect=io.onedev.server.persistence.PostgreSQLDialect -e hibernate_connection_driver_class=org.postgresql.Driver -e hibernate_connection_url=jdbc:postgresql://<db ip address>:5432/onedev -e hibernate_connection_username=onedev -e hibernate_connection_password=changeit -e cluster_ip=<host ip address> -p 6610:6610 -p 6611:6611 -p 5710:5710 1dev/server
-
<container host name>should be replaced with host name of the container, it will be used to identify current server in cluster -
<db ip address>should be replaced with ip address of the host running PostgreSQL container above -
<host ip address>should be replaced with ip address of the host running OneDev container. It should be accessible from other OneDev servers -
In case you want to run multiple OneDev servers on same machine for a test setup, make sure to change port like below to avoid port conflicting:
-e cluster_port=<new cluster port> -p <new cluster port>:<new cluster port> -e http_port=<new http port> -p <new http port>:<new http port> -e ssh_port=<new ssh port> -p <new ssh port>:<new ssh port>
Exposed ports should be accessible via <host ip address> above from other OneDev servers and cluster load balancer (will configure later)
After container starts, access web ui of one of them set up OneDev following on screen instructions (leave Server URL as is).
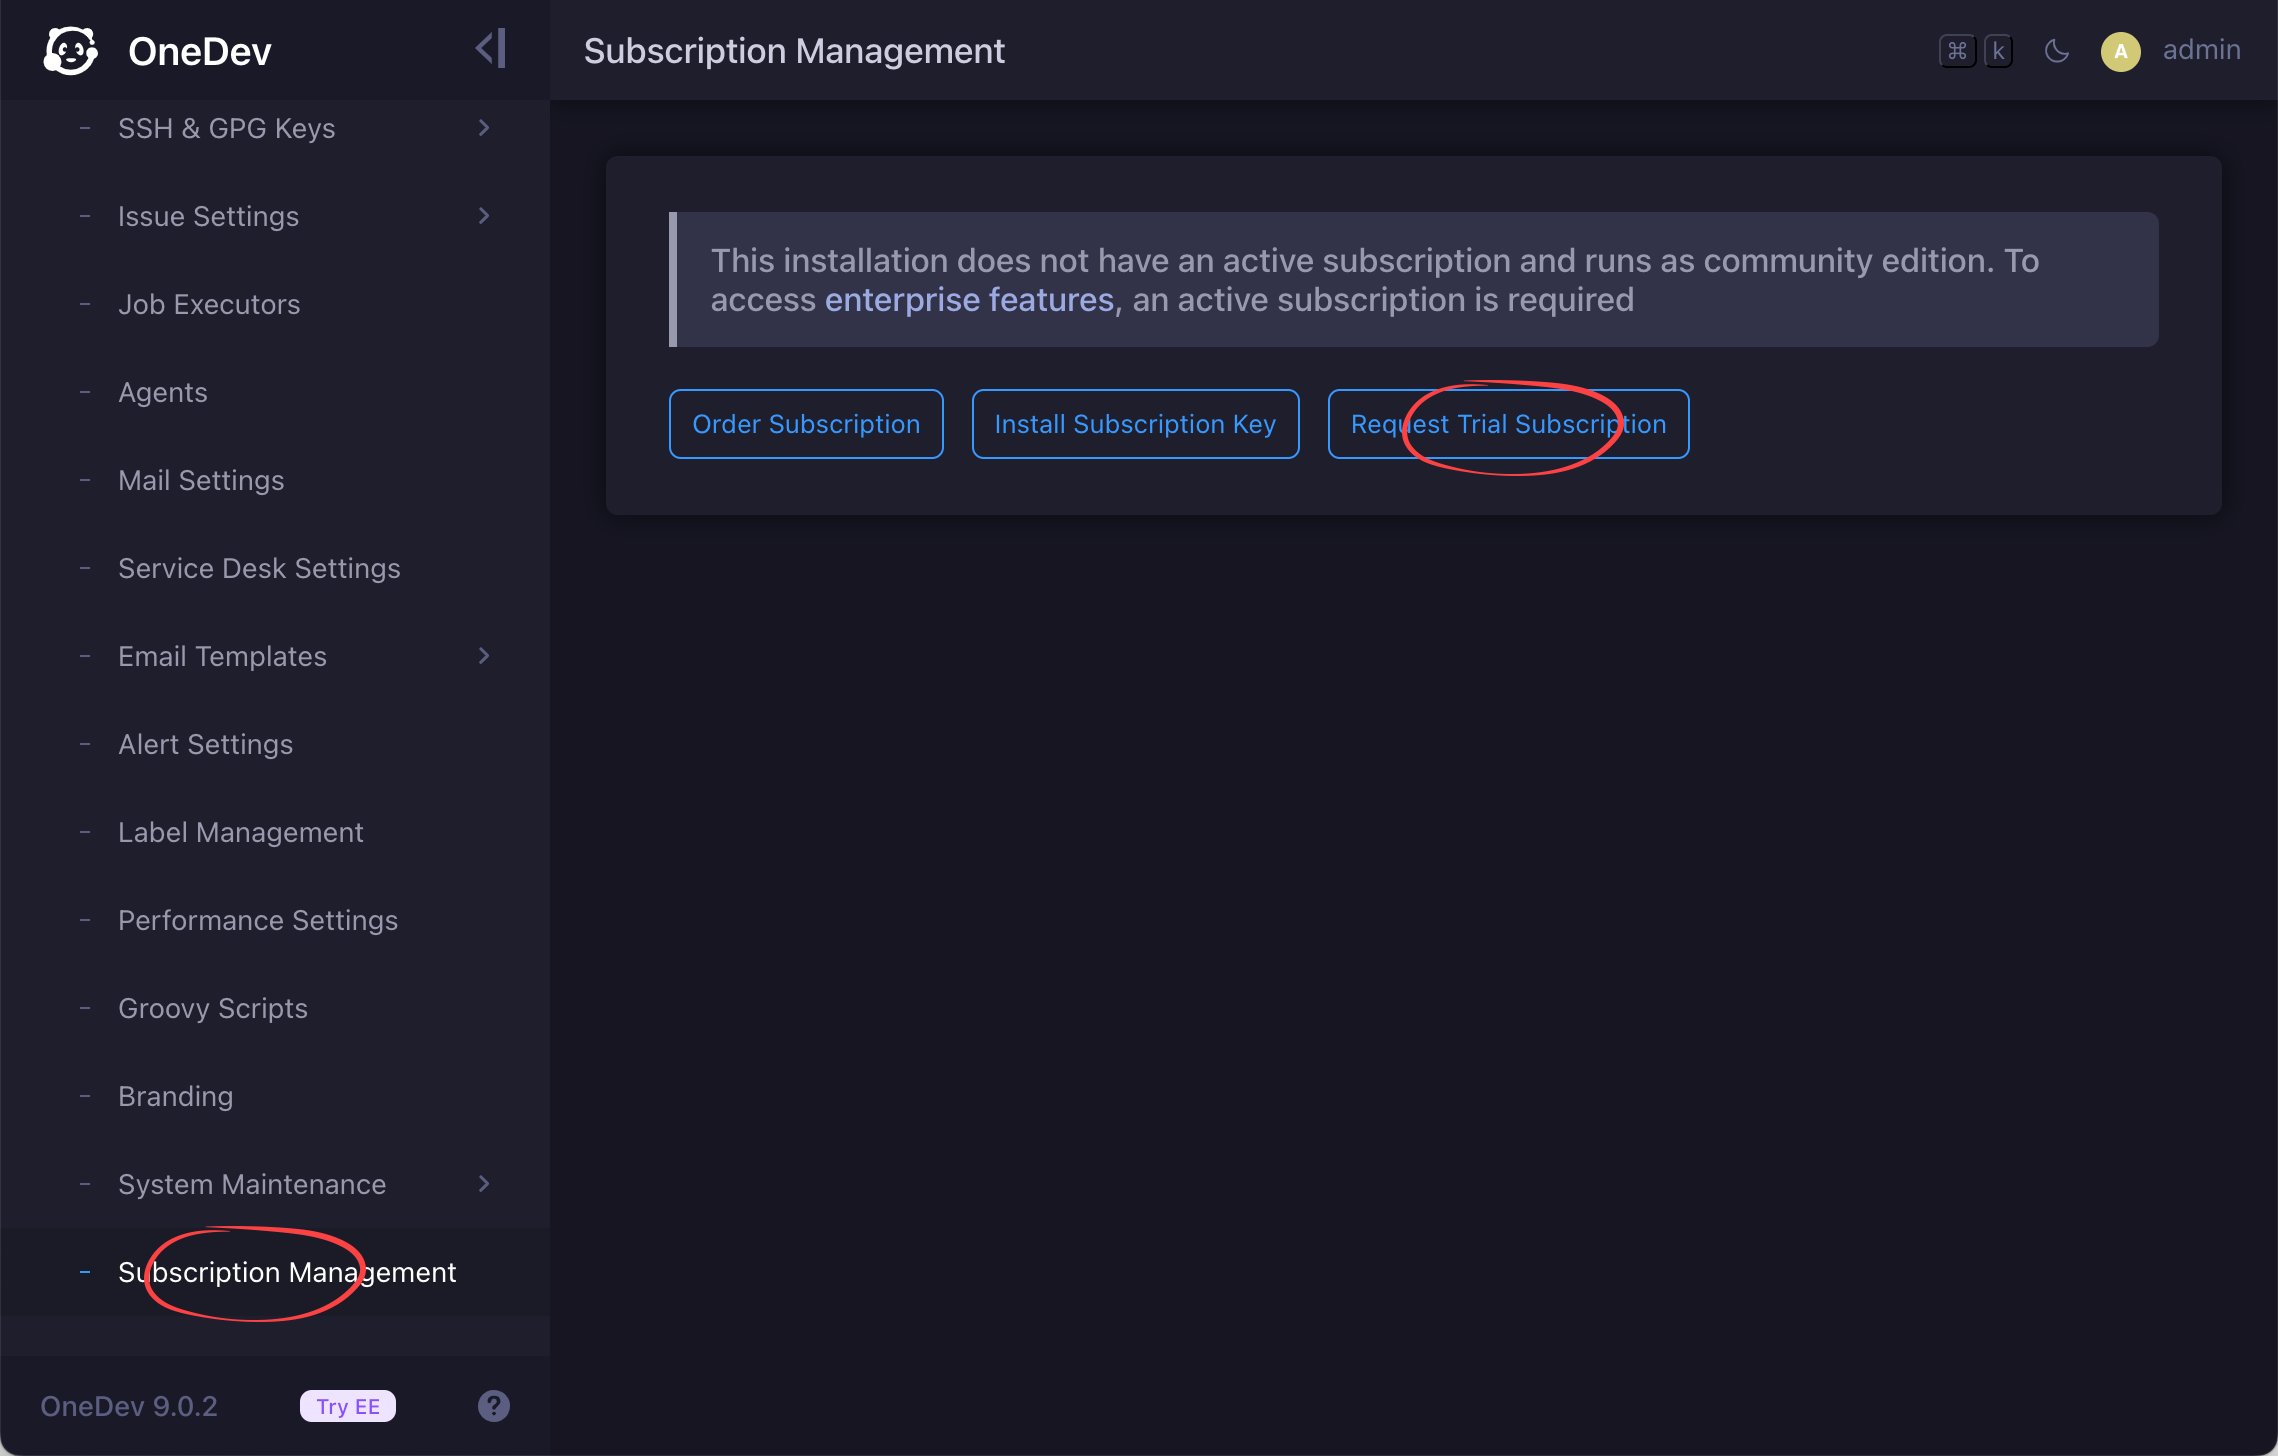
Request a Trial Subscription
High availability and scalability requires a subscription to use. Switch to menu item Administration / Subscription Management, request a trial subscription key and install it into OneDev if you do not have a subscription yet:
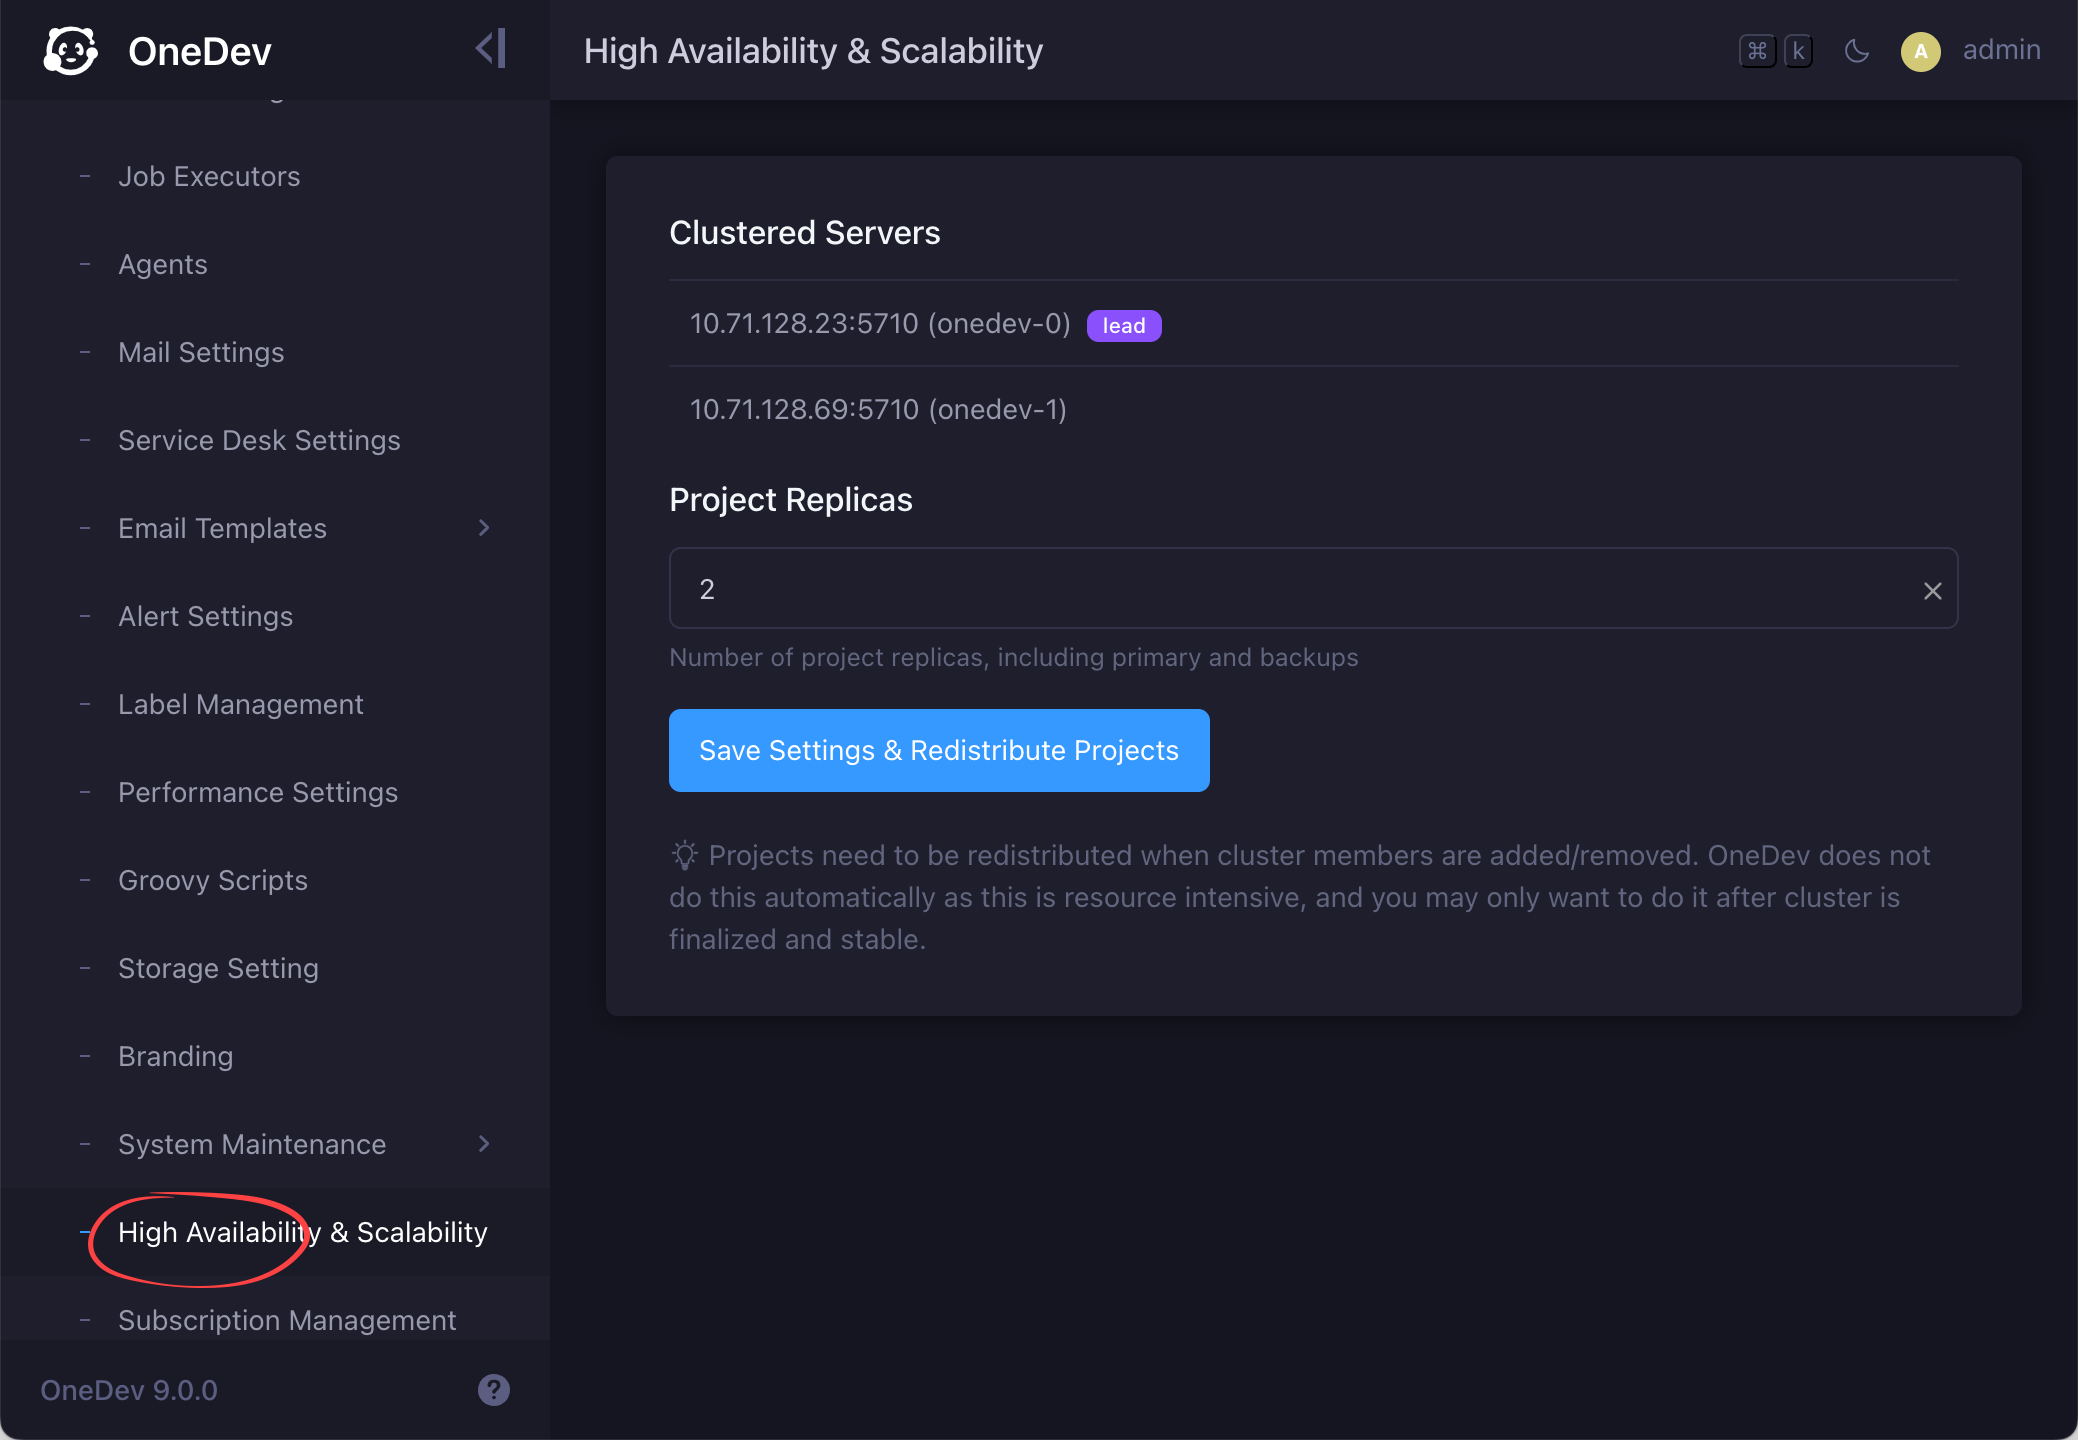
Configure Project Replicas
Switch to menu item Administration / High Availability & Scalability (will be available after trial subscription is activated above), and you will see two OneDev servers in the cluster. Let's change project replicas to 2 and click the button Save Settings & Redistribute Projects:
This tells OneDev to maintain two replicas of each project on different servers. Now create a new project, and you can check the replica status like below:
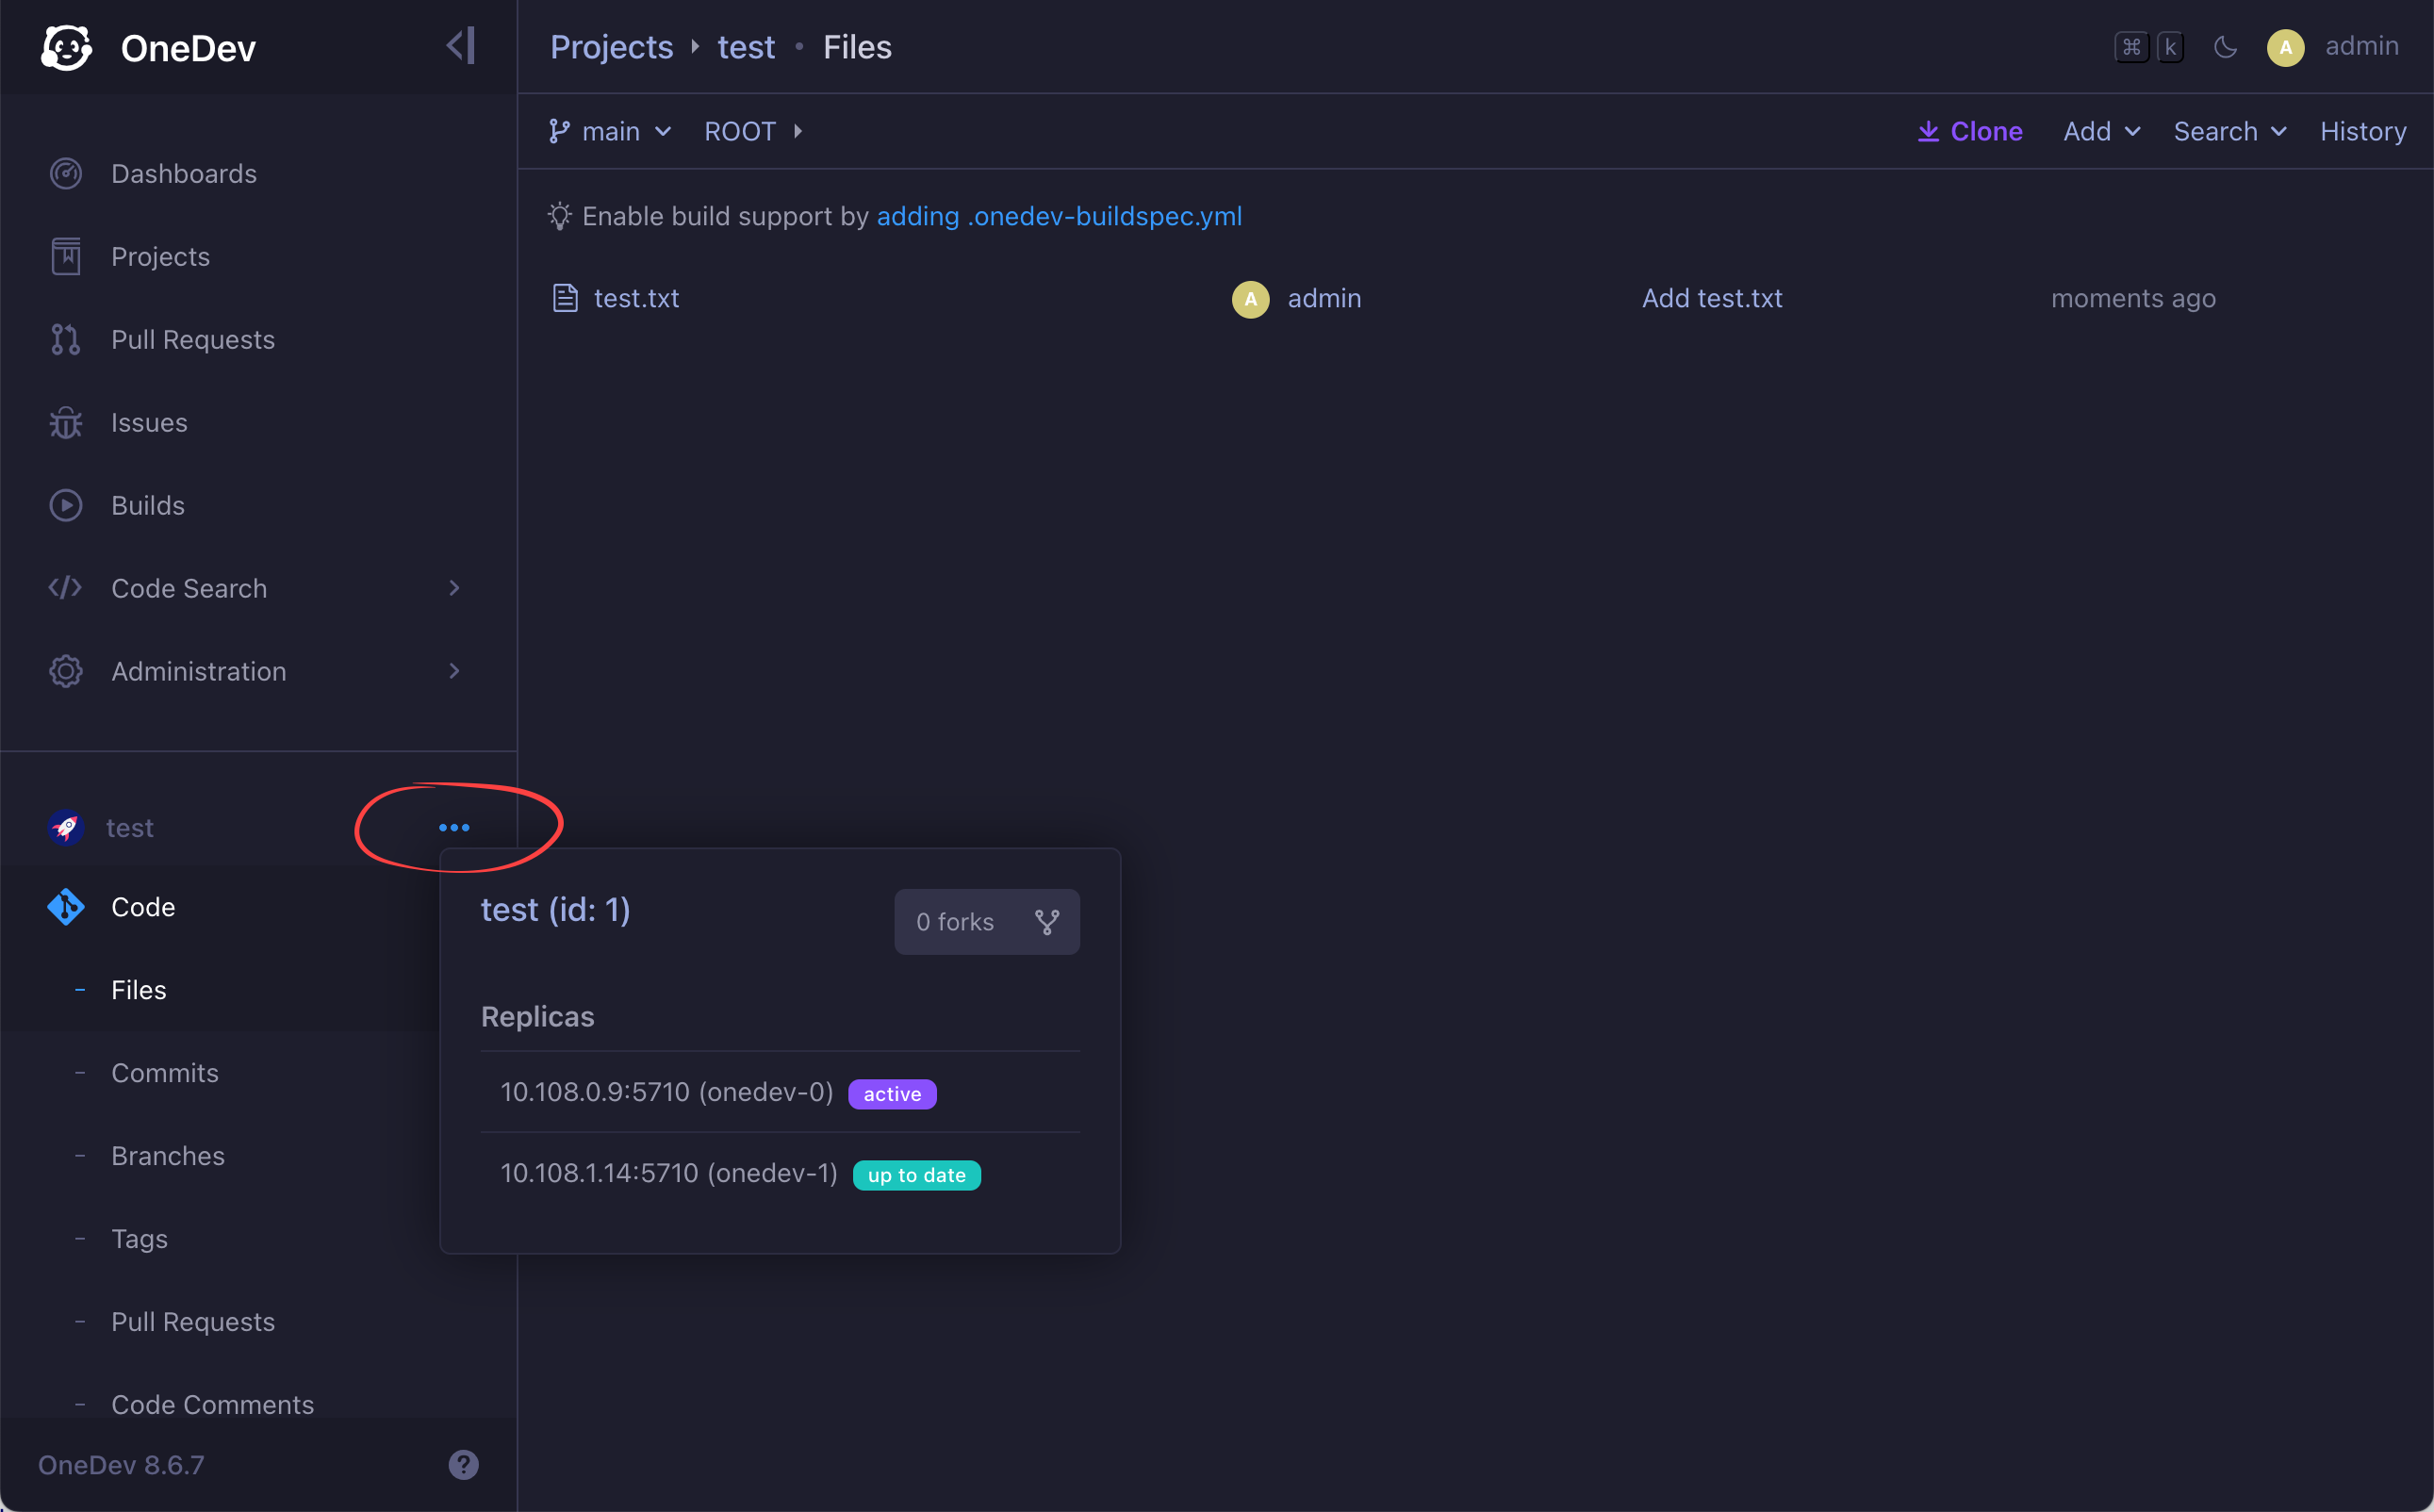
Do something with the project such as pushing files or running builds, you will see that the replica is update to date. In case you need to find projects without enough replicas, or with outdated replicas, run below project query:
without enough replicas or has outdated replicas
Set Up Front End Load Balancer
A front end load balancer should also be configured to server as single access point of the cluster, either for users or for CI/CD agents. We will use Nginx to serve as load balancer.
-
Create file onedev-http.conf with below content to serve http traffic:
upstream backend {
    ip_hash;
    server <host ip address of onedev1>:6610;
    server <host ip address of onedev2>:6610;
}

server {
    listen 80;
    listen [::]:80;

    server_name <onedev dns name>;

    # no size limit of uploaded file
    client_max_body_size 0;

    location /wicket/websocket {
        proxy_pass http://backend/wicket/websocket;
        proxy_http_version 1.1;
        proxy_set_header Upgrade $http_upgrade;
        proxy_set_header Connection "upgrade";
        proxy_read_timeout 1800s;
    }

    location /~server {
        proxy_pass http://backend/~server;
        proxy_http_version 1.1;
        proxy_set_header Upgrade $http_upgrade;
        proxy_set_header Connection "upgrade";
    }

    location /~api/streaming {
        proxy_pass http://backend/~api/streaming;
        proxy_buffering off;
    }

    location / {
        proxy_pass http://backend/;
    }
}
Here
<host ip address of onedev1>and<host ip address of onedev2>should be replaced with ip address of the host running OneDev servers.<onedev dns name>should be replaced by dns name to access OneDev, which should be resolved to ip address of the host runnning nginx container. -
Create file onedev-ssh.conf with below content to serve SSH traffic:
upstream ssh {
    server <host ip address of onedev1>:6611;
    server <host ip address of onedev2>:6611;
}
server {
    listen 22;
    proxy_pass ssh;
}
We should replace
<host ip address of onedev1>and<host ip address of onedev2>same as above here -
Run below command to start nginx on a machine:
docker run --rm -v $(pwd)/onedev-http.conf:/opt/nginx/http.conf.d/onedev.conf -v $(pwd)/onedev-ssh.conf:/opt/nginx/stream.conf.d/onedev.conf -p 80:80 -p 22:22 1dev/nginx-stream:1.0.0Here we are using docker image 1dev/nginx-stream which is built with nginx stream module.
-
Update server url and ssh root url in OneDev system settings to point to the load balancer
Now you should be able to access OneDev web UI via the dns name. Repositories can also be access over http/ssh protocol via the dns name. When one server fails, traffic will be failed over to another server automatically. If you have agents to run CI/CD jobs, they should also be configured to connect to OneDev dns name to benefit from load balancing and fail over.
- OneDev can be configured to send alert email via
Administratio / Alert Settingswhen a server is down abnormally. After fixing the issue, make sure to redistribute projects again if new server is added or existing server is removed - This tutorial does not include HA setup of database. Refer to database specific guide if you need to do that